PTO Shaft for Diggers – Reliable Power Where It Matters
The digger is a workhorse of modern farming, and its productivity depends entirely on the integrity of the PTO shaft connecting it to the tractor. Our digger PTO drive shaft is engineered for the specific torque, speed, and articulation demands of excavation and earth-moving. With heat-treated components and precision-balanced joints, it delivers trouble-free operation across thousands of hectares.
Technical Specifications – Diggers PTO Shaft
| Parâmetro | Specification / Customisable Range |
|---|---|
| Application | Diggers |
| Recommended Tractor HP | 80–350 HP |
| Velocidade da TDP | 1000 rpm |
| Maximum Continuous Torque | 800–2500 Nm |
| Peak Torque Capacity | 3750 Nm |
| Shaft Series | T5 / L5 (Heavy duty) / T6 / L6 (Super heavy duty) / T7 / L7 (Ultra heavy duty) |
| Yoke Material | Forged steel (40Cr) |
| Tube Profile | Splined profile or Square profile |
| Spline Hardness | HRC 55-60 |
| U-Joint Bearing Type | Greased needle roller |
| Universal Joint Cross Size | 30.2×92 mm / 34.9×93.1 mm / 22×54.8 mm |
| Safety Guard Material | Metal-reinforced composite / HDPE (high-density polyethylene) |
| Dynamic Balance | Dynamically balanced to ISO 1940 G6.3 |
| Recommended Lubricant | EP2 lithium |
| Outer Tube Diameter | 65 mm |
| Closed Length (Lmin) | 900–1500 mm (customisable) |
| Assembly Weight | 14–41 kg (varies by length) |
| Surface Treatment | Black oxide coated |
| Guard Colour | Green (RAL 6018) |
| Maximum Extended Length | 1784 mm |
Understanding PTO Shaft Mechanics for the Diggers
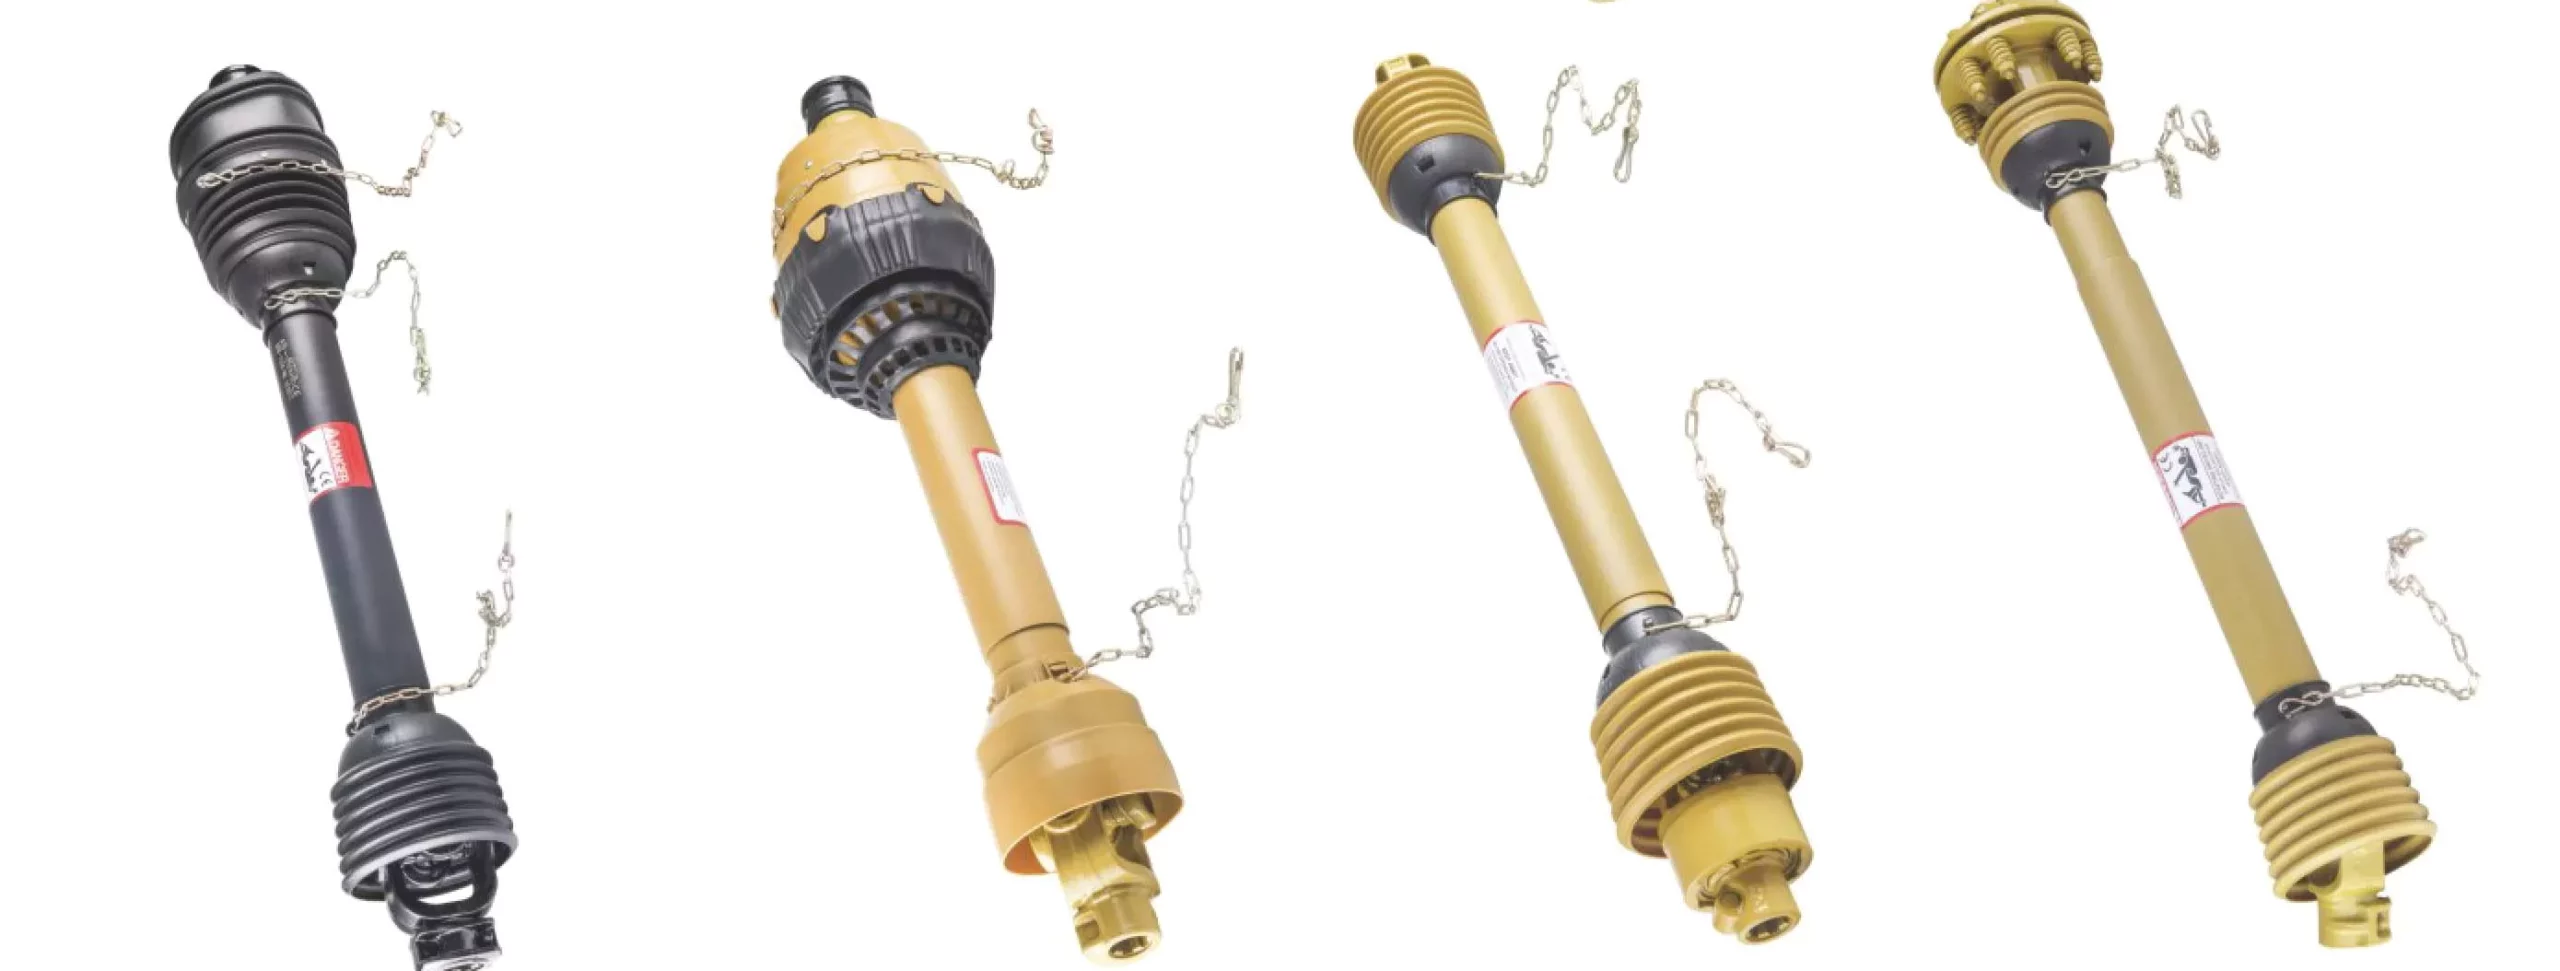
In excavation and earth-moving, the digger draws all its operating power through the PTO shaft. This shaft is essentially a rotating driveline that connects the tractor’s PTO output to the implement’s working mechanism via a series of universal joints and a telescoping tube.
The tractor-side yoke slides onto the PTO stub (typically 1-3/8" 6-spline or 1-3/4" 6-spline), locking into place. As the PTO engages, the stub begins to rotate, sending power through the shaft. The U-joints at each end allow the shaft to flex as the tractor and digger move independently over terrain.
The telescoping section—made from a profiled tube (lemon, star, or triangular cross-section)—slides freely to absorb changes in the distance between tractor and implement. On the digger end, the shaft connects to a gearbox or direct-drive mechanism that converts PTO speed and torque into the specific motion needed for excavation and earth-moving.

Core Advantages of Our PTO Shaft for Diggers
⚙ Continuous-Duty Rated
Our digger PTO shaft is rated for continuous-duty operation, not just intermittent use—critical for high-throughput commercial farming.
🔧 Slip-Clutch Integration
Optional integrated slip clutch within the shaft assembly provides seamless overload protection without external bolt-on devices.
🔒 Shear-Pin Safety
Economy shear-pin option available for cost-sensitive operations, with replacement pins included in every shipment.
⚖ Greaseable Cross Kits
Despite sealed bearings, our crosses include grease nipples for optional periodic lubrication in extreme-duty environments.
🛠 Universal Guard Mounting
Guards fit all standard shaft diameters and include the mounting hardware and chains required for safe installation.
🏆 Technical Support Included
Free driveline engineering consultation with every purchase—our technicians help you select the correct shaft for your exact setup.
Compatible Brands & Interchangeable Parts
Farmers and contractors running digger equipment from John Deere, Driveline Parts, AgriCardan, PTOline, Profile Connect, AB Shaft will find our PTO shaft a seamless replacement. We maintain a comprehensive compatibility database to match our products to thousands of OEM part numbers.
⚠ References to third-party brands are provided exclusively to facilitate product selection and cross-referencing. We do not manufacture products for these brands, nor do we hold or claim any rights to their trademarks.
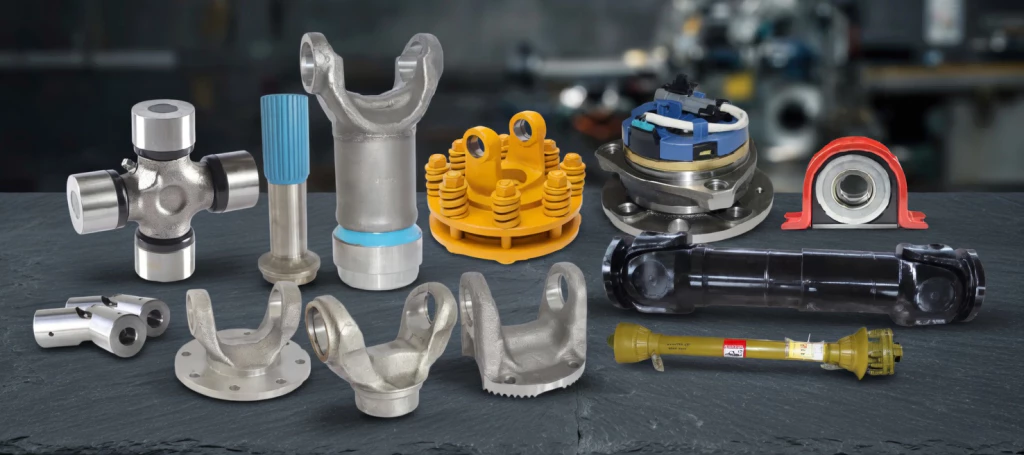
Replacement Components
All shaft components are available as individual spares: universal joint kits, yokes in all standard bore sizes, telescoping tubes in various profiles, moulded safety guards, torque limiter assemblies, and complete rebuild kits. Extended availability ensures your shaft remains serviceable for years.
Standards, Policies & Regional Compliance
Australian Agricultural Machinery Standards
Our PTO shafts for digger applications are manufactured in compliance with the ASABE S203 (Guard dimensions) and ISO 5673 (PTO drive shaft interfaces) standards. These standards ensure dimensional compatibility and operational safety across all Australian farming environments.
Environmental Considerations
All materials used in our PTO shafts are RoHS-compliant. Packaging is recyclable, and we offer a used-shaft return programme for environmentally responsible disposal of end-of-life components.
Regional Service Coverage
We provide service and technical support across all Australian states and territories, including regional and remote areas. Local dealers in major agricultural centres stock our most popular shaft series and replacement parts for immediate availability.

Quick Selection Guide for Diggers PTO Shafts
Use the table below to determine the correct PTO shaft specification for your digger. Measure your existing shaft or consult your implement manual before ordering.
| Parâmetro | O que verificar | Typical Range for Diggers |
|---|---|---|
| Tractor HP | Check tractor nameplate or manual | 80–350 HP |
| Velocidade da TDP | Tractor PTO setting & implement requirement | 540 or 1000 rpm |
| PTO Spline Size | Count splines on tractor PTO stub | 1-3/8" 6-spline or 1-3/4" 6-spline |
| Shaft Closed Length | Measure tractor PTO to implement input | 900–1500 mm |
| Required Torque | Check implement manual or calculate from HP/speed | 800–2500 Nm |
| Recommended Series | Match to torque requirement | T5 / L5 (Heavy duty) / T6 / L6 (Super heavy duty) / T7 / L7 (Ultra heavy duty) |
| Proteção contra sobrecarga | Assess risk of sudden blockage | Friction clutch or shear bolt |
| Implement Yoke Type | Match to implement input shaft profile | Quick-release or splined |
📌 Not sure which shaft to choose? Contact our technical team with your tractor model and implement details for a free recommendation.
Installation Guide – PTO Shaft on Diggers
⚠ Warning: Always shut down the tractor engine, disengage the PTO, and wait for all rotating parts to stop completely before beginning installation. Follow your tractor and implement manufacturer’s safety instructions.
Step 1: Pre-Installation Inspection
Unpack the PTO shaft and inspect all components for shipping damage. Verify that the yoke splines, U-joints, profile tubes, and safety guards are in perfect condition. Confirm the shaft series and length match your digger requirements.
Step 2: Set Correct Shaft Length
Park the tractor with the digger in its normal working position. Measure the distance from the tractor PTO stub face to the implement input shaft face. Adjust the telescoping tubes so that the shaft closed length is approximately 10–15 mm shorter than this measured distance to allow for suspension travel.
Step 3: Connect Tractor-End Yoke
Slide the tractor-end yoke onto the PTO stub shaft. Ensure the splines engage fully and the locking mechanism (push-pin or collar) clicks into place. Verify there is no excessive radial play.
Step 4: Connect Implement-End Yoke
Align the implement-end yoke with the digger’s input shaft. Slide the yoke onto the splines or into the keyway and secure with the appropriate locking mechanism. If a torque limiter is present, ensure it is correctly oriented per the manufacturer’s markings.
Step 5: Install Safety Guards
Slide the guard halves over the shaft and connect them using the supplied clips. Attach the guard retention chains—one to the tractor drawbar or a fixed point, one to the implement frame. The guards must be able to rotate freely and must never be attached to a rotating component.
Step 6: Final Check & Test Run
Verify all connections are secure. Start the tractor engine and engage the PTO at idle speed. Observe the shaft for smooth rotation, unusual vibration, or noise. Gradually increase to operating speed. Re-check all fasteners after the first hour of operation.

PTO Shaft Troubleshooting Guide for Diggers
| Symptom | Possible Cause | Recommended Action |
|---|---|---|
| Excessive vibration during operation | Worn U-joint cross bearings; shaft out of balance; excessive operating angle | Replace U-joint cross kit; check yoke alignment; reduce operating angle to <25° |
| Shear bolt breaks repeatedly | Implement blockage not cleared; wrong bolt grade used; shaft undersized | Clear blockage source; use only specified bolt grade; consider upgrading to next shaft series |
| PTO shaft disconnects during operation | Worn locking collar; damaged retaining groove on PTO stub | Replace quick-release yoke; inspect and repair PTO stub groove if worn |
| Safety guard not rotating freely | Guard bearings seized; guard damaged or misaligned | Replace guard bearings; straighten or replace guard halves; re-attach chains correctly |
| Unusual whining or grinding sound | Gearbox input bearing failure; misaligned shaft | Inspect implement gearbox; re-align tractor and implement; check shaft length overlap |
| Clicking or knocking noise at low speed | Worn U-joint needle bearings; loose yoke on PTO stub | Replace U-joint assembly; check spline wear and yoke locking mechanism |
| Heat build-up at U-joint | Insufficient lubrication; excessive operating angle; bearing failure | Grease U-joints immediately; reduce operating angle; replace cross kit if bearings are damaged |
| Overload clutch slipping under normal load | Clutch plates worn or contaminated; incorrect torque setting | Adjust clutch torque setting; replace clutch plates if worn or oil-contaminated |
Case Studies – PTO Shaft for Diggers in Australia
Field notes from our engineering and sales team across Australia:
📍 Roma, QLD – Glen Armstrong
Purpose: Replaced a corroded shaft that had been exposed to chemical spray residues
Feedback: “The safety guards are solid and rotate freely. They actually meet the WHS requirements unlike the cheap ones you get from other suppliers.”
📍 Warrnambool, VIC – Stuart Palmer
Purpose: Upgraded from a light-duty shaft to a heavy-duty series for commercial-scale excavation and earth-moving
Feedback: “We run our digger hard across 2,000 hectares and this shaft hasn’t missed a beat after two full seasons. Exceptional value for money.”
📍 Rockhampton, QLD – Dean Hartley
Purpose: Replaced a worn PTO shaft on a 3-year-old digger to restore full operating efficiency
Feedback: “The integrated friction clutch saved my gearbox when we hit a buried rock. The shaft disengaged instantly and re-engaged once the obstruction was cleared. Worth every cent.”
📍 Bendigo, VIC – David Thompson
Purpose: Upgraded overload protection from shear bolt to friction clutch for smoother excavation and earth-moving
Feedback: “I ordered a replacement cross kit six months later and it arrived within 48 hours. Great product, great service, great support.”
📍 Swan Hill, VIC – Ben Callahan
Purpose: Required a custom-length shaft for a non-standard tractor-to-implement spacing
Feedback: “We swapped out our old economy shaft for this one and noticed an immediate reduction in vibration. The tractor runs quieter and the implement operates smoother.”
Frequently Asked Questions – PTO Shaft for Diggers
❓ What causes premature U-joint failure?
Common causes include insufficient lubrication, excessive operating angles (over 25°), running at speeds higher than rated, misalignment between tractor and implement, and lack of regular inspection. Following the recommended maintenance schedule significantly extends U-joint life.
❓ Can I use a 540 rpm shaft on a 1000 rpm PTO?
No. Using a shaft rated for 540 rpm on a 1000 rpm PTO will result in excessive speed, dangerous vibration, and potential catastrophic failure. Always match the shaft speed rating to both the tractor PTO setting and the implement requirement.
❓ How do I measure the correct closed length?
Hitch the implement to the tractor in its normal working position. Measure the straight-line distance from the face of the tractor PTO stub to the face of the implement input shaft. The shaft closed length should be approximately 10–15 mm less than this measurement.
❓ Can the shaft be shortened to fit my setup?
Yes. The telescoping profile tubes can be cut to a shorter length using an angle grinder or chop saw. Ensure a minimum of 1/3 overlap remains between the inner and outer tubes after cutting. Deburr all cut edges before reassembly.
❓ How often should I grease the PTO shaft?
Grease all U-joint nipples every 8–10 hours of operation, or at the start of each working day. Grease the telescoping profile tubes at the same interval. Use EP2 lithium-complex grease or as recommended in your product manual.
❓ Are your PTO shafts balanced?
Yes. All our PTO shaft assemblies are dynamically balanced during manufacture. This reduces vibration, extends bearing life, and provides smoother operation compared to unbalanced aftermarket alternatives.
❓ What PTO shaft series do I need for my digger?
For most digger applications in the 80–350 HP range, we recommend the T5 / L5 (Heavy duty) or T6 / L6 (Super heavy duty) series. If you operate near the upper end of this range or in particularly demanding conditions, consider stepping up to the S8 (Wide-angle) series for additional safety margin.
❓ What is the difference between a shear bolt and a friction clutch?
A shear bolt is a sacrificial pin that breaks when torque exceeds its rated capacity. It is inexpensive but requires manual replacement after each event. A friction clutch slips when overloaded and automatically re-engages when the overload clears, offering uninterrupted operation in applications prone to frequent shock loads.
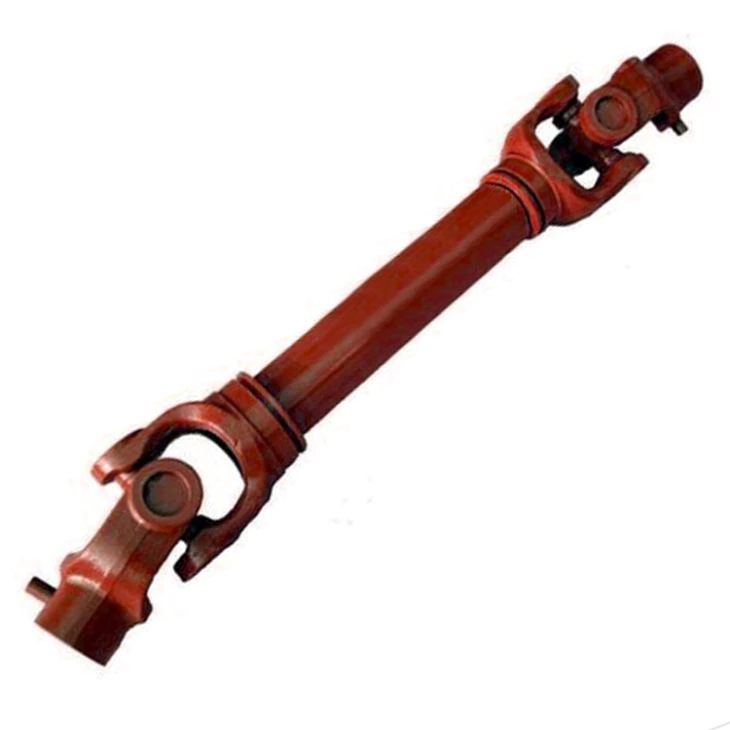
Related Products
Complement your Diggers PTO shaft with these products from our range:
Your Diggers PTO Shaft Partner
From single-unit orders to container-load shipments, we are your dedicated partner for digger PTO shaft supply. Our commitment to quality, competitive pricing, and responsive service has earned us the trust of farmers and dealers across Australia.
Take the next step: Contact us today for a free consultation and custom quotation tailored to your exact requirements.