PTO Shaft for Disc Mower – Heavy-Duty Power Transmission Solutions
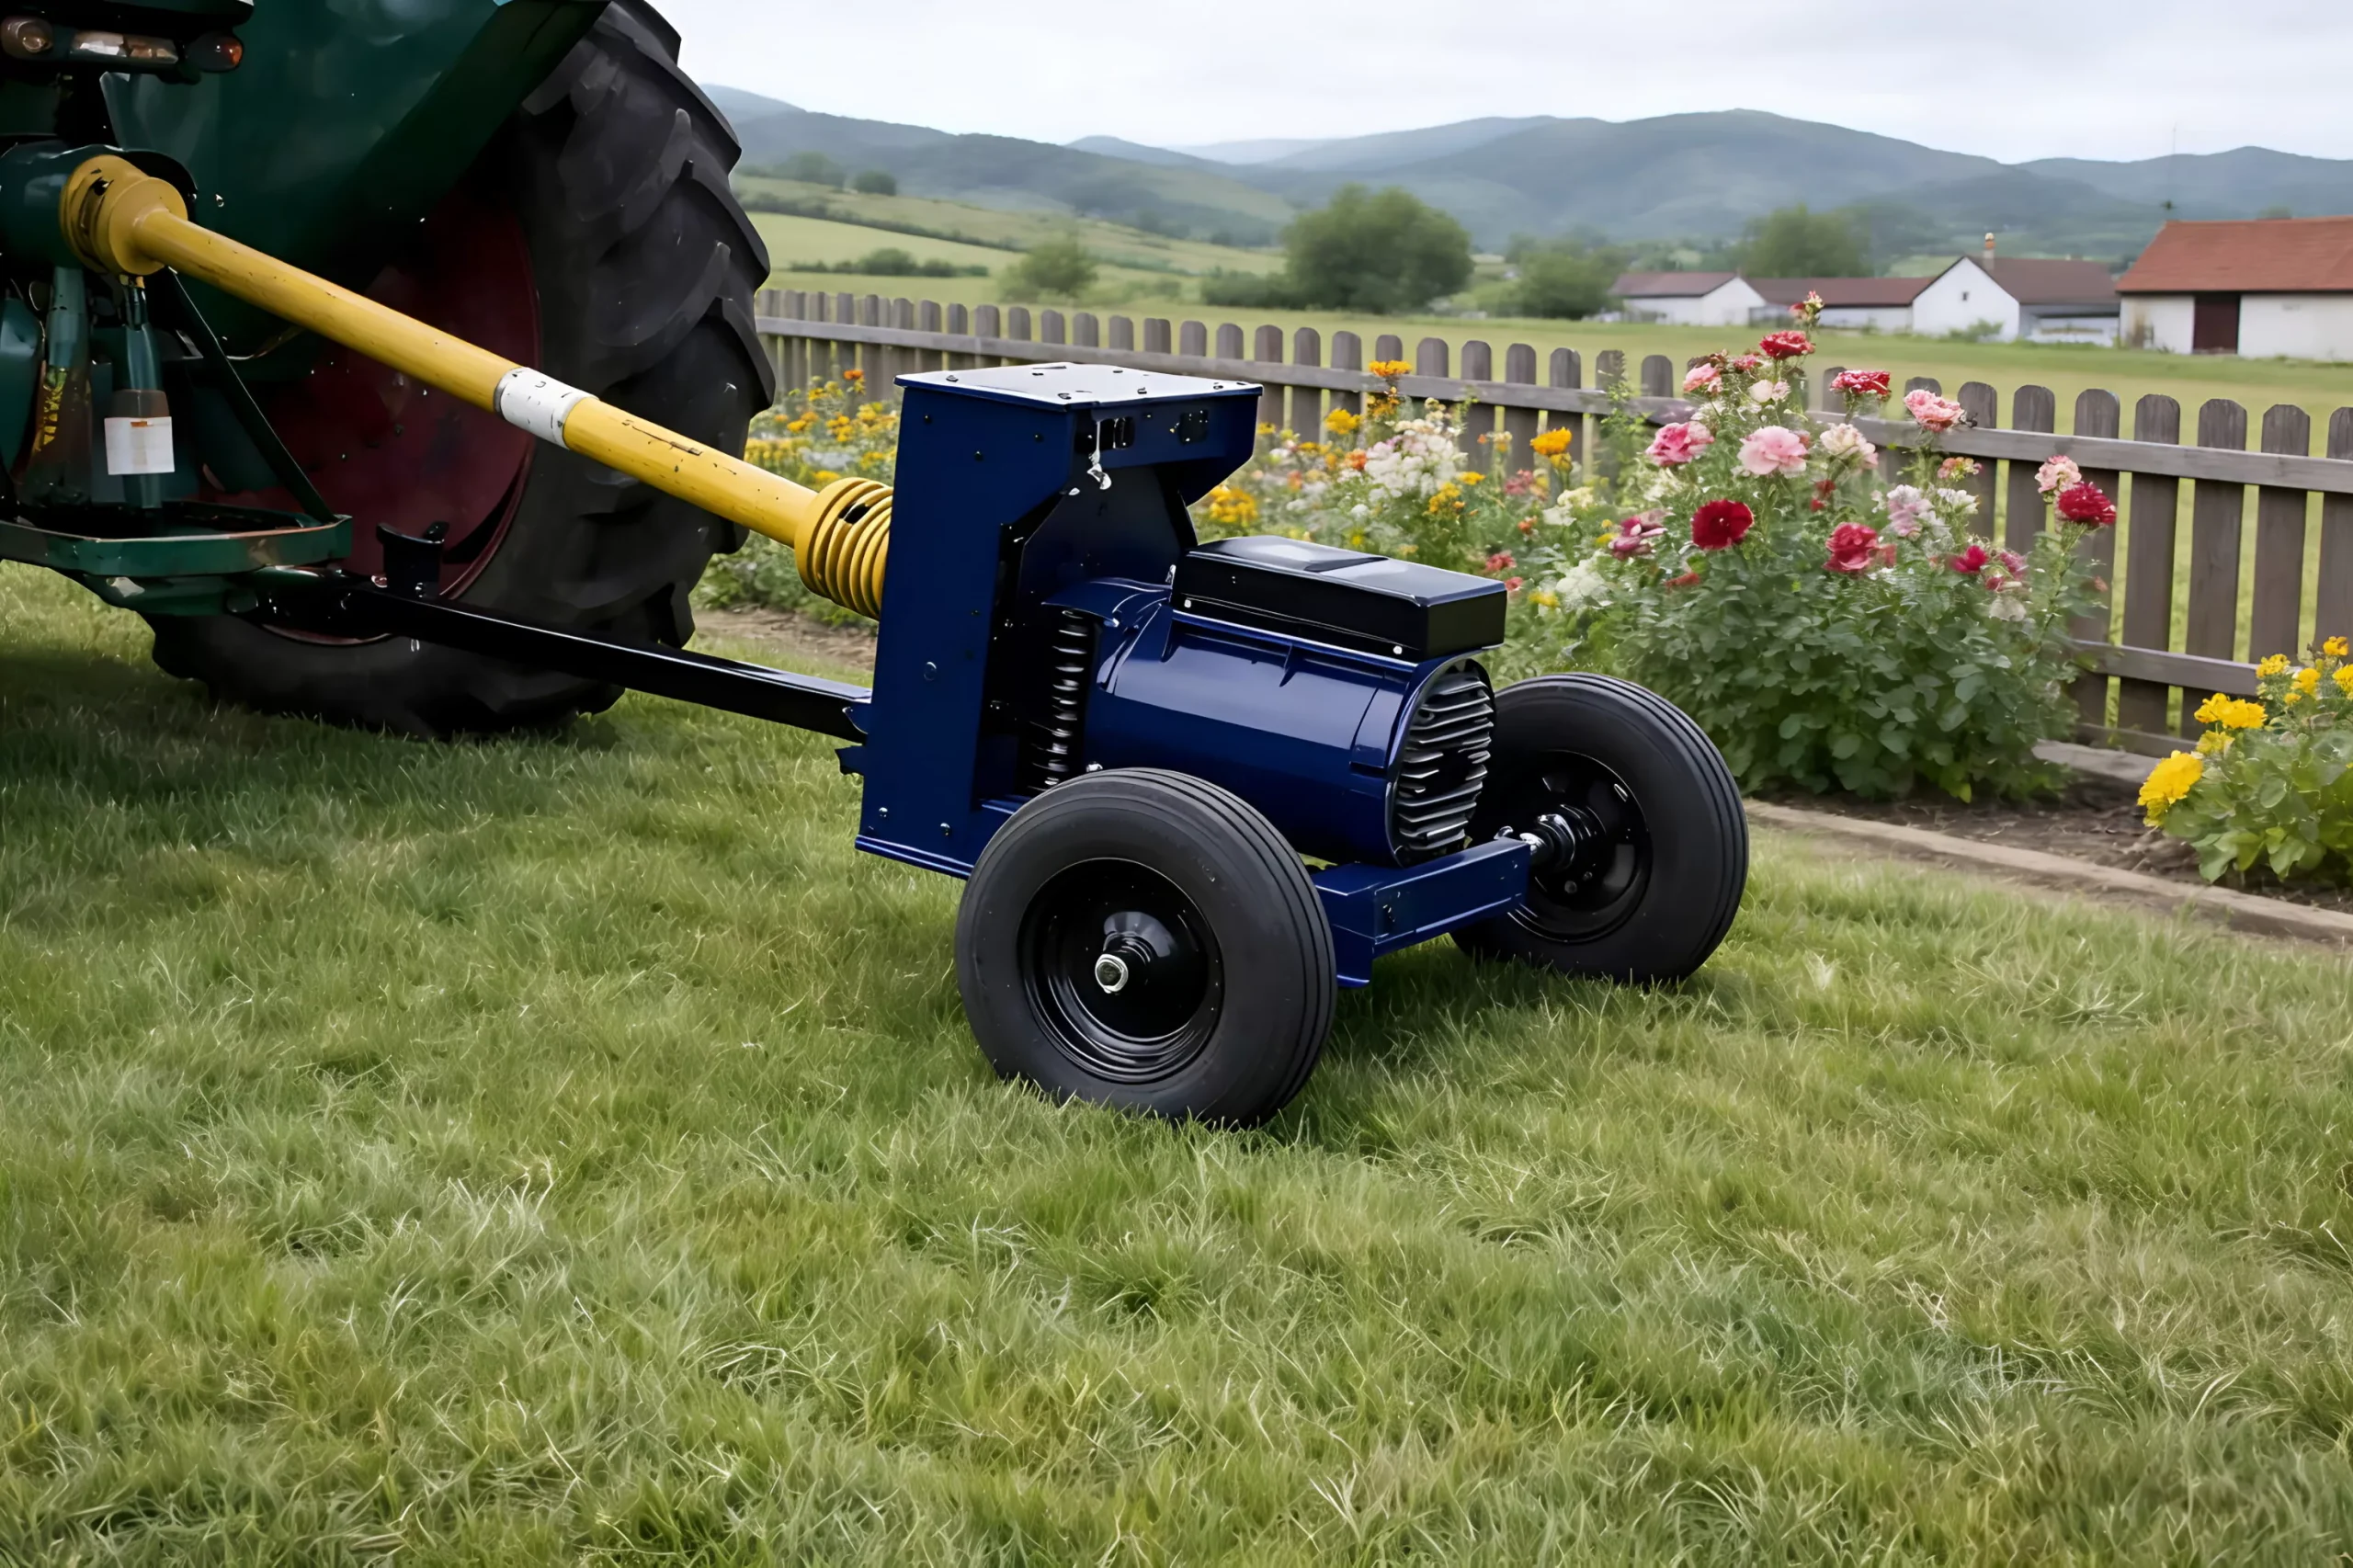
Operating a disc mower demands reliable, uninterrupted rotational power delivered from the tractor’s power take-off (PTO) to the implement. Our PTO shaft for disc mower is precision-engineered to handle the unique torque loads, speed requirements, and environmental stresses of cutting and mowing forage crops. Whether you manage broadacre farming or intensive horticulture, this PTO drive shaft ensures peak performance season after season.
Technical Specifications – Disc Mower PTO Shaft
| Parâmetro | Especificações / Gama personalizável |
|---|---|
| Aplicativo | Disc Mower |
| Potência recomendada do trator (HP) | 30–90 HP |
| Velocidade da TDP | 1000 rpm |
| Torque máximo contínuo | 200–600 Nm |
| Capacidade de torque máximo | 900 Nm |
| Série de Eixos | T2 / L2 (Serviço leve a médio) / T3 / L3 (Serviço médio) / T4 / L4 (Serviço médio a pesado) |
| Material de proteção de segurança | ABS plastic / Injection-moulded PP (polypropylene) |
| Faixa de temperatura operacional | -20°C a +80°C |
| Outer Tube Diameter | 42 mm |
| Dureza da estria | HRC 58-62 |
| Perfil do tubo | Lemon profile or Square profile |
| Tractor-End Yoke Options | Double yoke / Plain bore yoke |
| Tube Wall Thickness | 3.0 mm |
| Opções de proteção contra sobrecarga | Shear bolt torque limiter / Friction clutch torque limiter / Cam-release clutch |
| Opções de garfo de extremidade de implementação | Plain bore yoke / Splined yoke (1-3/4″ 6-spline) |
| Tamanho da cruzeta da junta universal | 36×89 mm / 22×54.8 mm / 27×74.5 mm |
| Material do jugo | Aço carbono forjado (C45) |
| Recommended Lubricant | EP2 lithium |
| Comprimento máximo estendido | 1311 mm |
| Comprimento fechado (L)min) | 700–1100 mm (personalizável) |
How a PTO Shaft Works on a Disc Mower
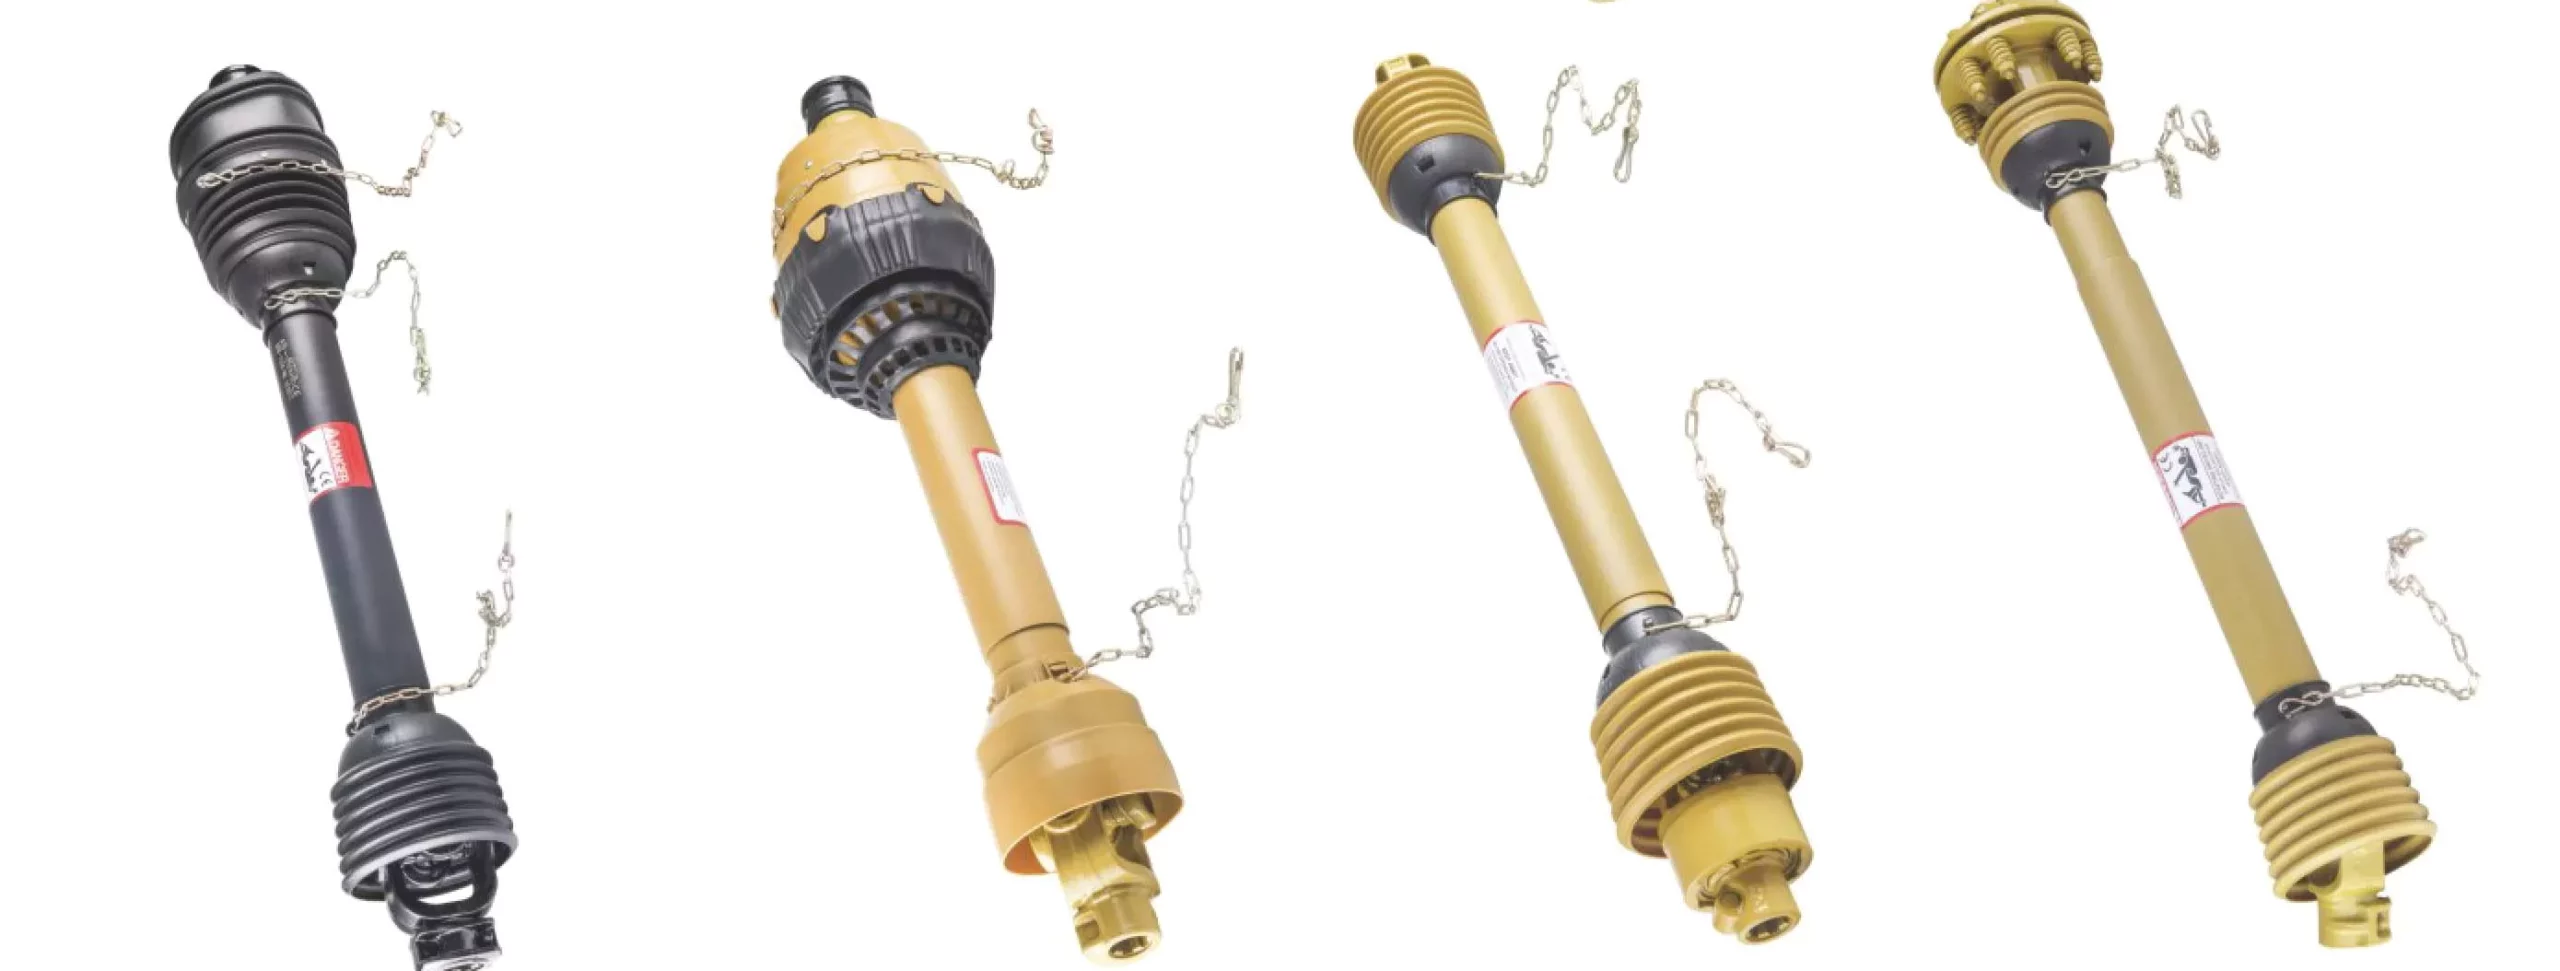
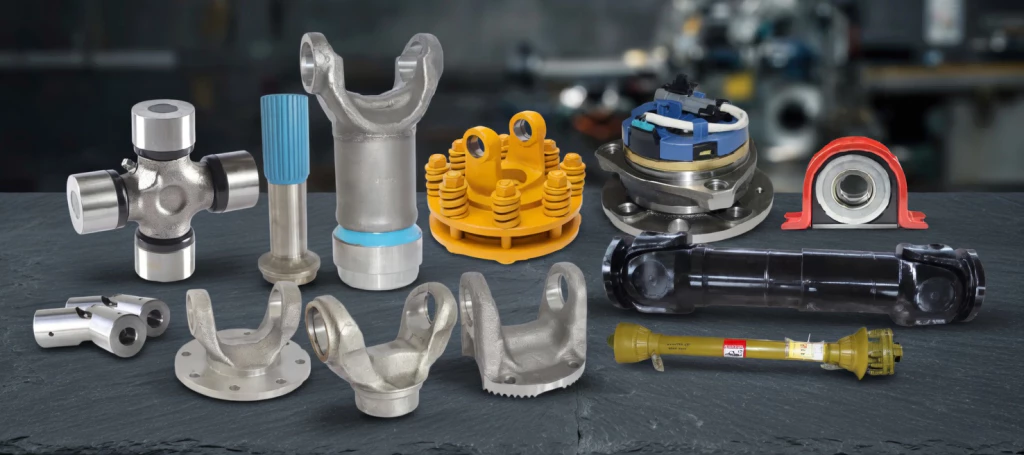
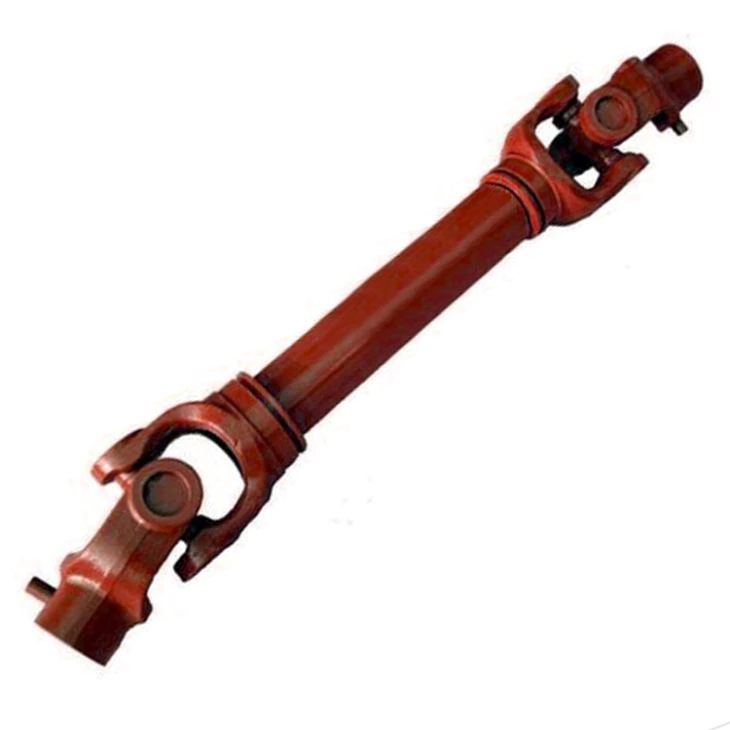
The PTO shaft transmits rotational energy from the tractor’s rear PTO stub to the input shaft of the disc mower. The assembly consists of two yokes connected by a telescoping profile tube, with universal joints (U-joints) at each end allowing angular misalignment as the tractor and implement articulate over uneven ground.
During cutting and mowing forage crops, the tractor PTO stub rotates at a standardised speed. This rotation passes through the first U-joint, travels along the profile tube (which telescopes to accommodate changes in distance), and exits through the second U-joint into the implement gearbox. A safety guard encloses the entire rotating assembly to prevent entanglement.
On the disc mower specifically, the PTO shaft drives the main gearbox, which in turn powers the working elements. Overload protection—typically a shear bolt or friction clutch—is integrated at the implement-end yoke to safeguard the driveline against sudden blockages or shock loads.
Core Advantages of Our PTO Shaft for Disc Mower
⚙ Heat-Treated Components
Every yoke and U-joint cross in our disc mower PTO shaft is induction-hardened and tempered, delivering superior fatigue resistance compared to standard cast components.
⚖ Precision-Balanced Assembly
Computer-balanced shaft assemblies minimise vibration, reducing wear on tractor and implement bearings and extending overall driveline life.
🔒 Integrated Overload Protection
Factory-fitted torque limiters protect your investment by automatically disengaging under shock loads, preventing costly repairs to gearboxes and drivelines.
🔧 Telescoping Design
Profile tubes telescope smoothly to accommodate field undulations and turning manoeuvres, ensuring consistent power delivery during operation.
🛡 Full Safety Guarding
CE-compliant safety shields with bearing-mounted rotation enclose the entire shaft, meeting Australian WHS requirements and protecting operators.
🏆 Extended Warranty
We stand behind our products with an industry-leading warranty, reflecting our confidence in the durability and reliability of every PTO shaft we supply.
Brand Compatibility & Replacement Parts
Our PTO shaft for disc mower is designed as a direct-fit replacement for driveline assemblies supplied by Weasler, GKN Walterscheid, Benzi & Di Terlizzi, Bondioli & Pavesi, Indústrias Comer, Peças da transmissão, and others. We stock cross-reference guides to help you identify the correct shaft for your existing equipment.
⚠ Brand names are referenced solely for cross-compatibility identification purposes. We are not affiliated with, nor do we claim endorsement by, any of the brands mentioned. All trademarks remain the property of their respective owners.
Spare Parts & Accessories
Every component of our PTO shaft is available individually: U-joint cross kits, yokes (tractor-end and implement-end), profile tubes, safety guards, guard chains, torque limiters, and bearing kits. This means you can service and rebuild your shaft indefinitely, reducing long-term ownership costs.
Regulations, Compliance & Local SEO Considerations
Australian Safety Standards
All PTO shafts supplied for disc mower applications comply with AS 1121 (Power take-offs for agricultural tractors) and AS/NZS 4024.1 (Safety of machinery). Safety guards meet the guarding requirements of Safe Work Australia’s model WHS Regulations.
CE & ISO Compliance
Our manufacturing facility holds ISO 9001:2015 certification. Shaft assemblies are designed in accordance with ISO 5673 (Agricultural tractors and machinery – PTO drive shafts) and CE-marked where applicable.
State & Territory Requirements
PTO-driven equipment across Queensland, New South Wales, Victoria, Western Australia, South Australia, and Tasmania must comply with local WHS codes of practice for agricultural machinery. Our shafts are supplied with all required safety guarding and documentation to meet these obligations.
Quick Selection Guide for Disc Mower PTO Shafts
Use the table below to determine the correct PTO shaft specification for your disc mower. Measure your existing shaft or consult your implement manual before ordering.
| Parâmetro | O que verificar | Typical Range for Disc Mower |
|---|---|---|
| Trator HP | Verifique a placa de identificação do trator ou o manual. | 30–90 HP |
| Velocidade da TDP | Configuração da tomada de força do trator e requisitos de implementos | 540 ou 1000 rpm |
| Tamanho da estria da tomada de força | Conte as estrias no eixo da tomada de força do trator. | 1-3/8" 6 estrias ou 1-3/4" 6 estrias |
| Comprimento do eixo fechado | Meça a tomada de força (TDF) do trator para implementar a entrada. | 700–1100 mm |
| Torque necessário | Consulte o manual do implemento ou calcule a partir da relação HP/velocidade. | 200–600 Nm |
| Séries recomendadas | Atender ao requisito de torque | T2 / L2 (Serviço leve a médio) / T3 / L3 (Serviço médio) / T4 / L4 (Serviço médio a pesado) |
| Proteção contra sobrecarga | Avaliar o risco de bloqueio súbito | Embreagem de fricção ou parafuso de cisalhamento |
| Implementar tipo de jugo | Combine com o perfil do eixo de entrada para implementá-lo. | Liberação rápida ou estriada |
📌 Não sabe qual eixo escolher? Entre em contato com nossa equipe técnica. Informe o modelo do seu trator e os detalhes do implemento para receber uma recomendação gratuita.
Installation Guide – PTO Shaft on Disc Mower
⚠ Aviso: Sempre desligue o motor do trator, desengate a tomada de força (TDF) e aguarde até que todas as peças rotativas parem completamente antes de iniciar a instalação. Siga as instruções de segurança do fabricante do seu trator e implemento.
Etapa 1: Inspeção pré-instalação
Unpack the PTO shaft and inspect all components for shipping damage. Verify that the yoke splines, U-joints, profile tubes, and safety guards are in perfect condition. Confirm the shaft series and length match your disc mower requirements.
Passo 2: Ajuste o comprimento correto do eixo
Park the tractor with the disc mower in its normal working position. Measure the distance from the tractor PTO stub face to the implement input shaft face. Adjust the telescoping tubes so that the shaft closed length is approximately 10–15 mm shorter than this measured distance to allow for suspension travel.
Etapa 3: Conecte o garfo da extremidade do trator
Deslize o garfo da extremidade do trator no eixo curto da tomada de força. Certifique-se de que as estrias se encaixem completamente e que o mecanismo de travamento (pino de pressão ou colar) trave no lugar. Verifique se não há folga radial excessiva.
Etapa 4: Conecte o garfo final do implemento
Align the implement-end yoke with the disc mower’s input shaft. Slide the yoke onto the splines or into the keyway and secure with the appropriate locking mechanism. If a torque limiter is present, ensure it is correctly oriented per the manufacturer’s markings.
Etapa 5: Instalar proteções de segurança
Deslize as metades da proteção sobre o eixo e conecte-as usando os clipes fornecidos. Prenda as correntes de retenção da proteção — uma na barra de tração do trator ou em um ponto fixo, e a outra na estrutura do implemento. As proteções devem poder girar livremente e nunca devem ser fixadas a um componente rotativo.
Etapa 6: Verificação final e teste de funcionamento
Verifique se todas as conexões estão seguras. Ligue o motor do trator e acione a tomada de força (TDF) em marcha lenta. Observe se o eixo gira suavemente, se há vibração incomum ou ruído. Aumente gradualmente a velocidade até atingir a velocidade de operação. Verifique novamente todos os fixadores após a primeira hora de operação.

PTO Shaft Troubleshooting Guide for Disc Mower
| Sintoma | Possível causa | Ação recomendada |
|---|---|---|
| PTO shaft disconnects during operation | Worn locking collar; damaged retaining groove on PTO stub | Replace quick-release yoke; inspect and repair PTO stub groove if worn |
| Safety guard not rotating freely | Guard bearings seized; guard damaged or misaligned | Replace guard bearings; straighten or replace guard halves; re-attach chains correctly |
| Clicking or knocking noise at low speed | Worn U-joint needle bearings; loose yoke on PTO stub | Replace U-joint assembly; check spline wear and yoke locking mechanism |
| Unusual whining or grinding sound | Gearbox input bearing failure; misaligned shaft | Inspect implement gearbox; re-align tractor and implement; check shaft length overlap |
| Heat build-up at U-joint | Insufficient lubrication; excessive operating angle; bearing failure | Grease U-joints immediately; reduce operating angle; replace cross kit if bearings are damaged |
| Shaft will not telescope smoothly | Corrosion or debris in profile tubes; insufficient lubrication | Clean and grease profile tubes; replace if scoring is visible |
| Implement speed inconsistent | PTO shaft slipping; worn splines; clutch partially engaged | Check yoke engagement; replace yoke if splines are worn; adjust or replace clutch assembly |
| Overload clutch slipping under normal load | Clutch plates worn or contaminated; incorrect torque setting | Adjust clutch torque setting; replace clutch plates if worn or oil-contaminated |
Case Studies – PTO Shaft for Disc Mower in Australia
Field notes from our engineering and sales team across Australia:
📍 Port Augusta, SA – Chris Taylor
Purpose: Outfitted a newly purchased second-hand disc mower with a reliable aftermarket PTO shaft
Feedback: “I ordered a replacement cross kit six months later and it arrived within 48 hours. Great product, great service, great support.”
📍 Murray Bridge, SA – Stuart Palmer
Purpose: Replaced a corroded shaft that had been exposed to chemical spray residues
Feedback: “The safety guards are solid and rotate freely. They actually meet the WHS requirements unlike the cheap ones you get from other suppliers.”
📍 Emerald, QLD – Tom Sullivan
Purpose: Upgraded overload protection from shear bolt to friction clutch for smoother cutting and mowing forage crops
Feedback: “Fitted perfectly to my disc mower with zero modification. The quality is noticeably better than the OEM shaft it replaced. I’ll be ordering more for my other implements.”
📍 Colac, VIC – Barry Sinclair
Purpose: Required a custom-length shaft for a non-standard tractor-to-implement spacing
Feedback: “Fast delivery to regional Australia. The shaft arrived well-packaged and the U-joints are smooth as butter. Very impressed with the build quality.”
📍 Adelaide, SA – Tony Blake
Purpose: Upgraded from a light-duty shaft to a heavy-duty series for commercial-scale cutting and mowing forage crops
Feedback: “We swapped out our old economy shaft for this one and noticed an immediate reduction in vibration. The tractor runs quieter and the implement operates smoother.”
Frequently Asked Questions – PTO Shaft for Disc Mower
❓ Can the shaft be shortened to fit my setup?
Yes. The telescoping profile tubes can be cut to a shorter length using an angle grinder or chop saw. Ensure a minimum of 1/3 overlap remains between the inner and outer tubes after cutting. Deburr all cut edges before reassembly.
❓ Do you ship to regional and remote Australia?
Absolutely. We ship to all Australian postcodes via major freight carriers. Regional and remote areas may have slightly longer transit times, but we work with multiple carriers to ensure reliable delivery across the country.
❓ What is the difference between a shear bolt and a friction clutch?
A shear bolt is a sacrificial pin that breaks when torque exceeds its rated capacity. It is inexpensive but requires manual replacement after each event. A friction clutch slips when overloaded and automatically re-engages when the overload clears, offering uninterrupted operation in applications prone to frequent shock loads.
❓ Can I use a 540 rpm shaft on a 1000 rpm PTO?
No. Using a shaft rated for 540 rpm on a 1000 rpm PTO will result in excessive speed, dangerous vibration, and potential catastrophic failure. Always match the shaft speed rating to both the tractor PTO setting and the implement requirement.
❓ Will this shaft fit my tractor and disc mower?
Our PTO shafts are available with all standard yoke types and spline sizes (1-3/8" 6-spline, 1-3/4" 6-spline, 1-3/4" 20-spline, and more). Provide your tractor model and disc mower make/model, and our team will confirm compatibility before dispatch.
❓ Can I upgrade my existing disc mower PTO shaft to a heavier series?
In most cases, yes. As long as the yoke spline sizes match your tractor PTO stub and implement input shaft, you can upgrade to a heavier series for increased torque capacity and durability. Our technical team can advise on the correct upgrade path for your equipment.
❓ Are your PTO shafts balanced?
Yes. All our PTO shaft assemblies are dynamically balanced during manufacture. This reduces vibration, extends bearing life, and provides smoother operation compared to unbalanced aftermarket alternatives.
❓ How often should I grease the PTO shaft?
Grease all U-joint nipples every 8–10 hours of operation, or at the start of each working day. Grease the telescoping profile tubes at the same interval. Use EP2 lithium-complex grease or as recommended in your product manual.
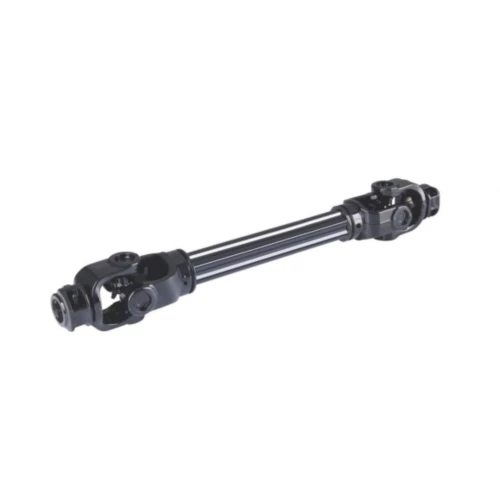
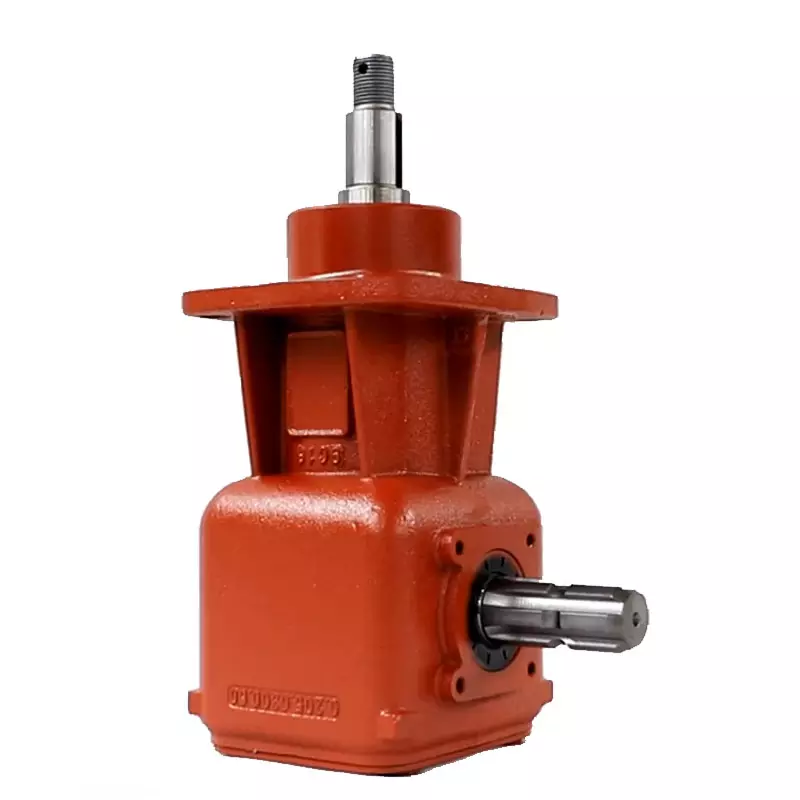
Related Products
Complement your Disc Mower PTO shaft with these products from our range:
Partner With Us – Disc Mower PTO Shaft Solutions
Whether you are a farmer seeking a single replacement shaft, a dealer looking to stock reliable driveline products, or an OEM manufacturer requiring bulk supply, we are ready to support your needs. Our disc mower PTO shafts are available in standard and custom configurations, with competitive pricing for volume orders.
📞 Contact our team today to discuss your requirements, request a quotation, or arrange a technical consultation. We are committed to delivering the right shaft, on time, every time.