PTO Shaft for Mower – Reliable Power Where It Matters
The mower is a workhorse of modern farming, and its productivity depends entirely on the integrity of the PTO shaft connecting it to the tractor. Our mower PTO drive shaft is engineered for the specific torque, speed, and articulation demands of grass and hay cutting. With heat-treated components and precision-balanced joints, it delivers trouble-free operation across thousands of hectares.
Technical Specifications – Mower PTO Shaft
| Parametro | Specifiche / Gamma personalizzabile |
|---|---|
| Applicazione | Mower |
| Potenza consigliata del trattore | 30–90 HP |
| Velocità presa di forza | 540/1000 rpm |
| Coppia massima continua | 200–600 Nm |
| Capacità di coppia massima | 900 Nm |
| Serie di alberi | T2 / L2 (Light-medium duty) / T3 / L3 (Medium duty) / T4 / L4 (Medium-heavy duty) |
| Overload Protection Options | Free-wheel overrunning clutch / Cam-release clutch / Shear bolt torque limiter |
| Operating Temperature Range | -20°C to +80°C |
| Materiale di protezione di sicurezza | Plastica ABS / Composito rinforzato con metallo |
| Guard Colour | Black |
| Profilo del tubo | Square profile or Star profile |
| Durezza della scanalatura | HRC 55-60 |
| Dimensioni della croce del giunto universale | 38×105 mm / 34.9×93.1 mm / 34.9×106.5 mm |
| Peso di assemblaggio | 8–21 kg (varies by length) |
| Opzioni di giunzione terminale dell'utensile | Splined yoke (1-3/8″ 6-spline) / Double yoke |
| Angolo operativo massimo | 22° |
| Materiale del giogo | Forged carbon steel (C45) |
| Lunghezza chiusa (Lmin) | 700–1100 mm (customisable) |
| Lunghezza massima estesa | 1367 mm |
| Equilibrio dinamico | Dynamically balanced to ISO 1940 G16 |
Understanding PTO Shaft Mechanics for the Mower
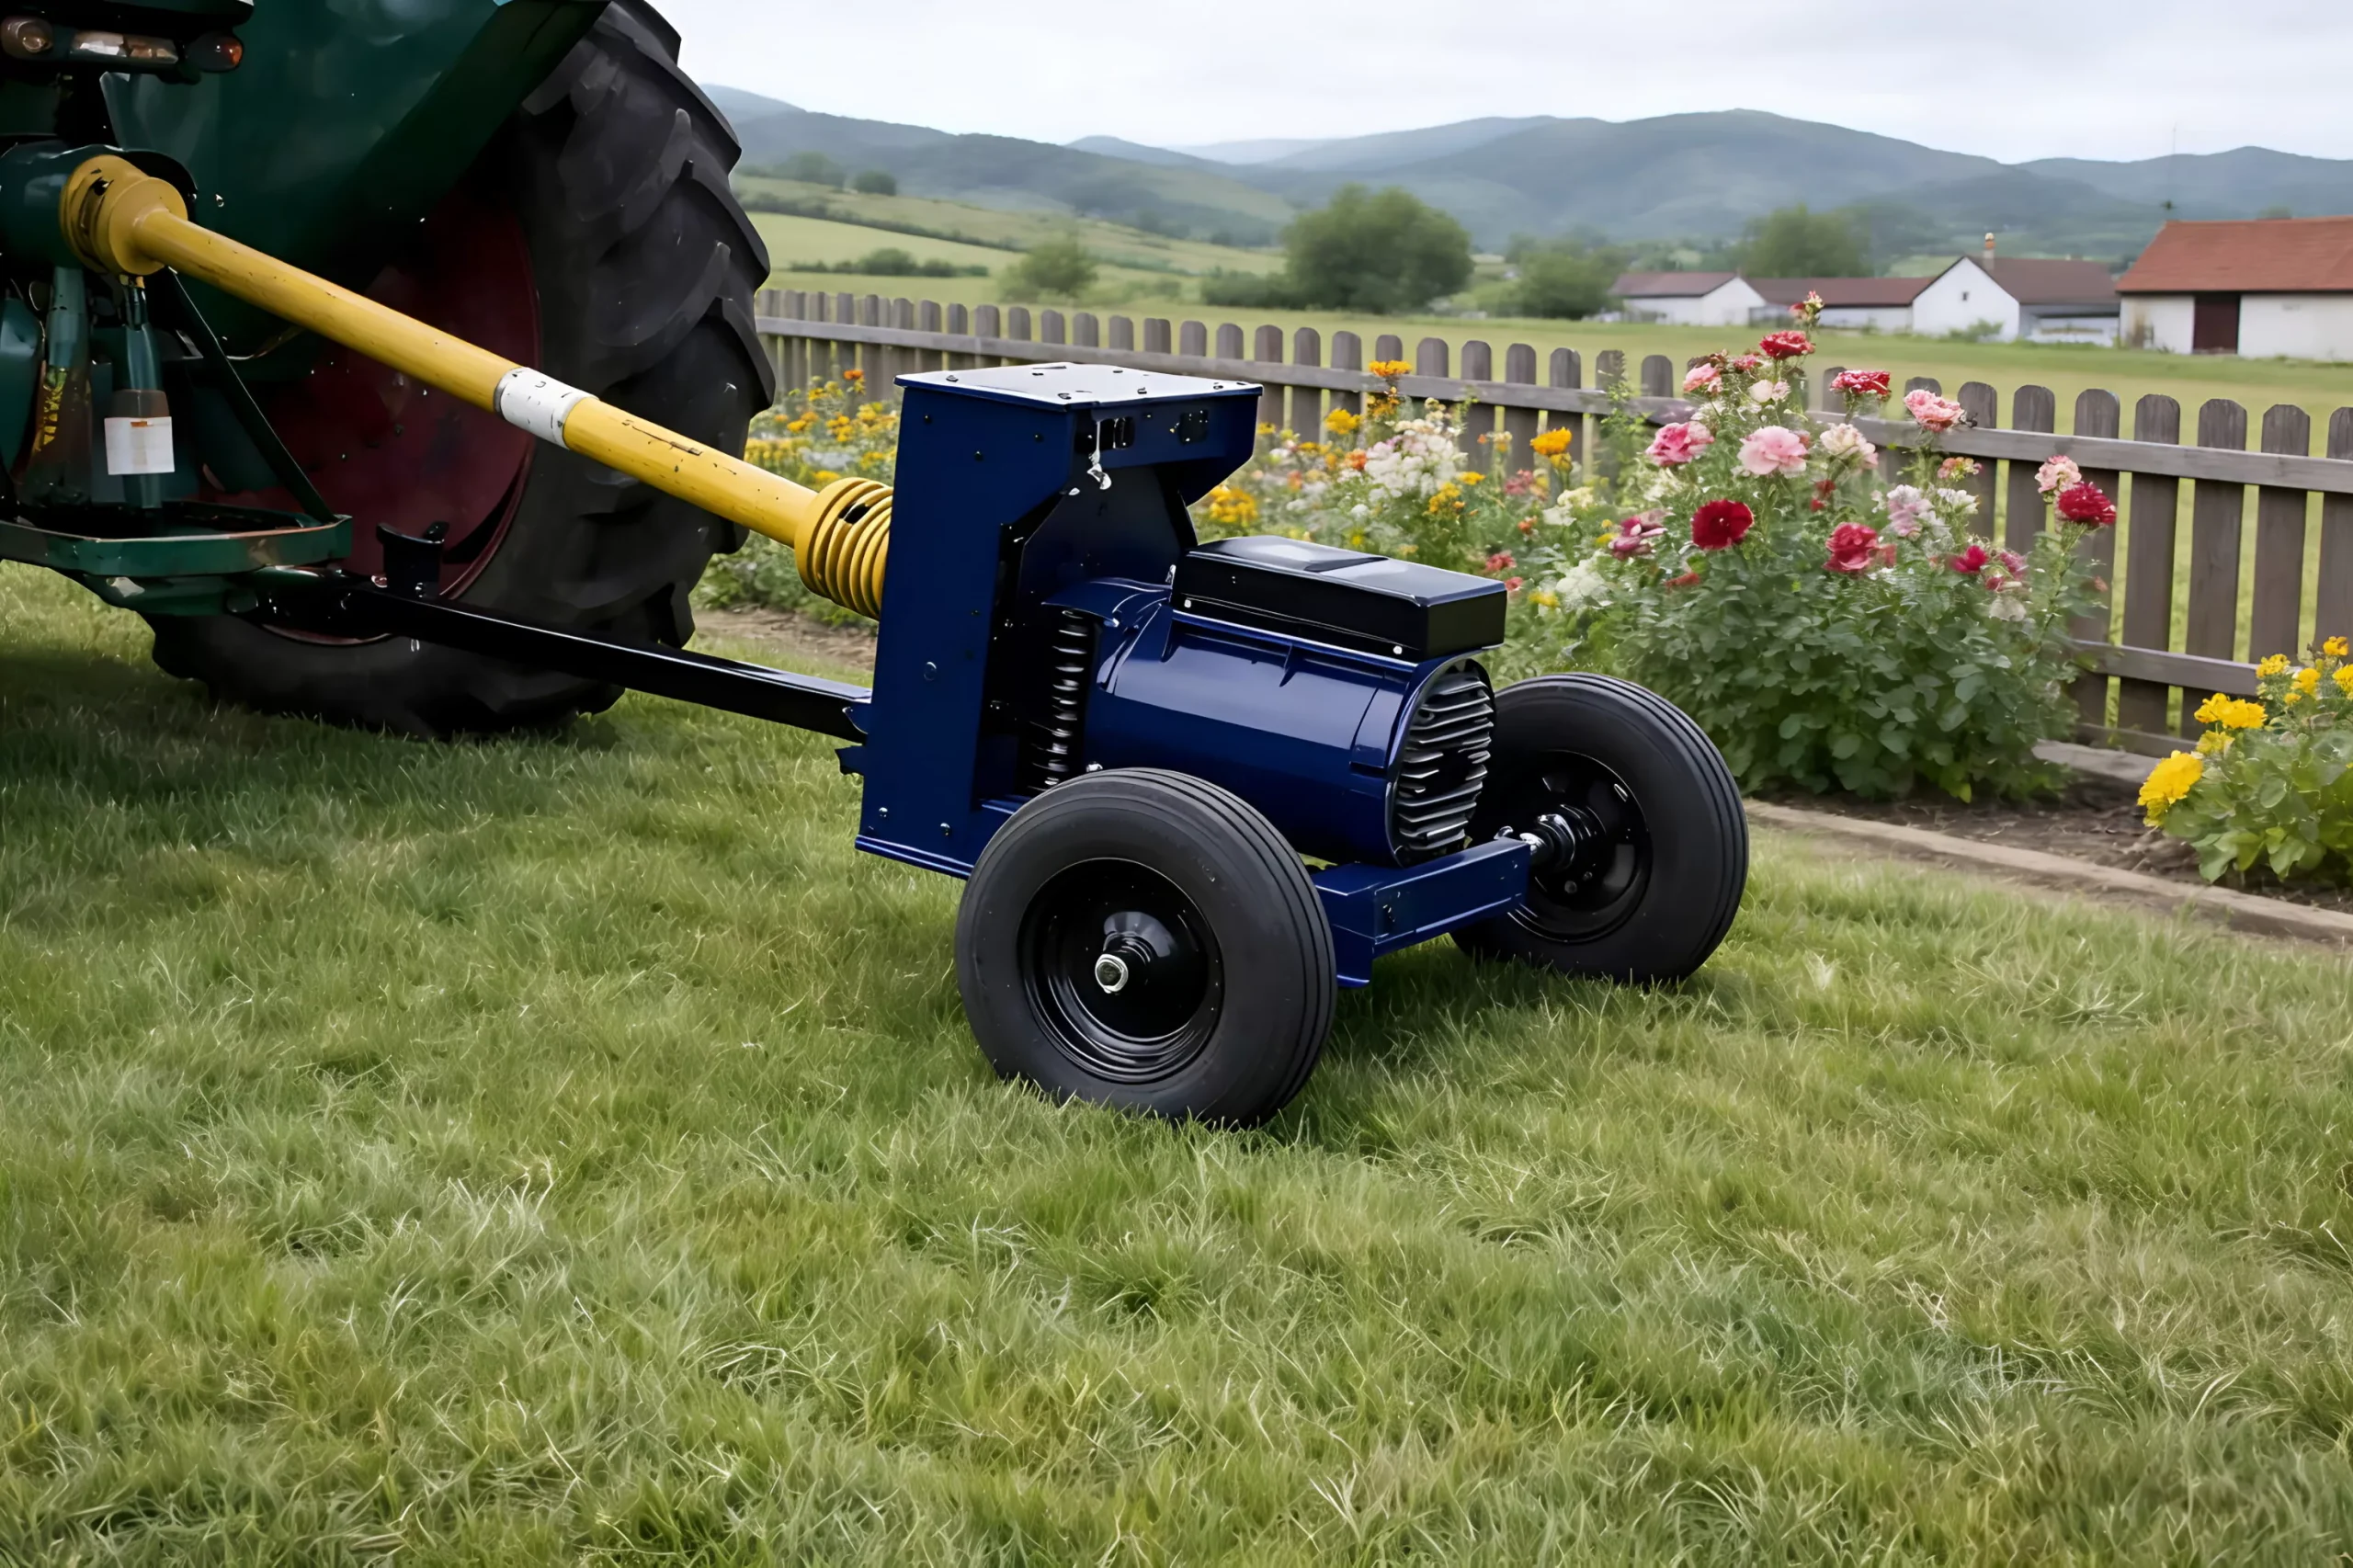
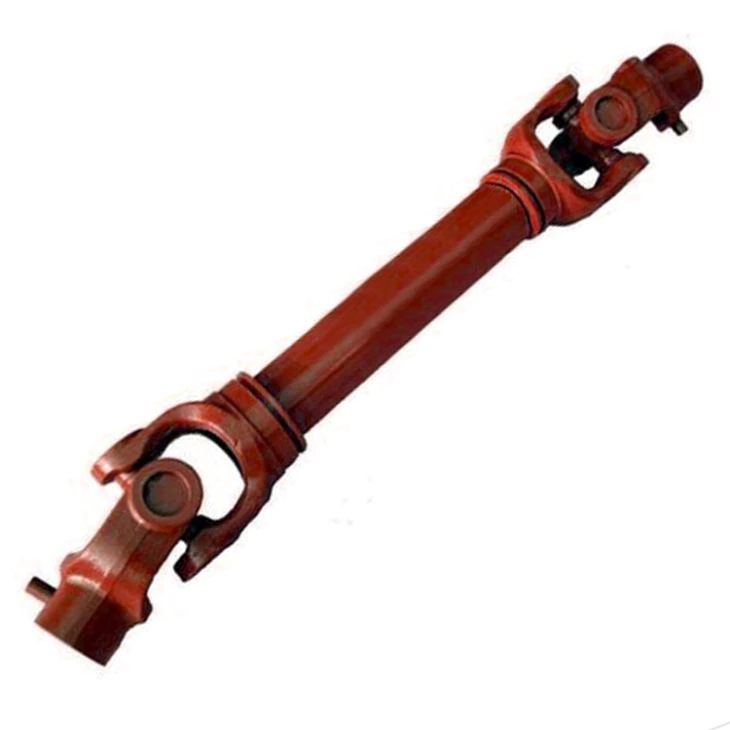
In grass and hay cutting, the mower draws all its operating power through the PTO shaft. This shaft is essentially a rotating driveline that connects the tractor’s PTO output to the implement’s working mechanism via a series of universal joints and a telescoping tube.
The tractor-side yoke slides onto the PTO stub (typically 1-3/8" 6-spline or 1-3/4" 6-spline), locking into place. As the PTO engages, the stub begins to rotate, sending power through the shaft. The U-joints at each end allow the shaft to flex as the tractor and mower move independently over terrain.
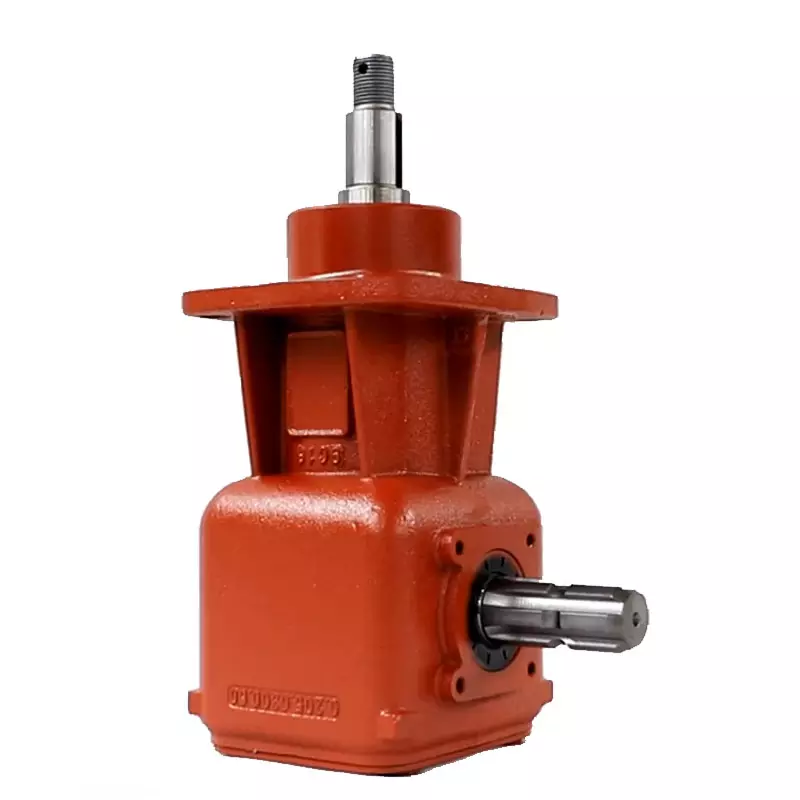
The telescoping section—made from a profiled tube (lemon, star, or triangular cross-section)—slides freely to absorb changes in the distance between tractor and implement. On the mower end, the shaft connects to a gearbox or direct-drive mechanism that converts PTO speed and torque into the specific motion needed for grass and hay cutting.

Core Advantages of Our PTO Shaft for Mower
⚙ Continuous-Duty Rated
Our mower PTO shaft is rated for continuous-duty operation, not just intermittent use—critical for high-throughput commercial farming.
🔧 Slip-Clutch Integration
Optional integrated slip clutch within the shaft assembly provides seamless overload protection without external bolt-on devices.
🔒 Shear-Pin Safety
Economy shear-pin option available for cost-sensitive operations, with replacement pins included in every shipment.
⚖ Greaseable Cross Kits
Despite sealed bearings, our crosses include grease nipples for optional periodic lubrication in extreme-duty environments.
🛠 Universal Guard Mounting
Guards fit all standard shaft diameters and include the mounting hardware and chains required for safe installation.
🏆 Technical Support Included
Free driveline engineering consultation with every purchase—our technicians help you select the correct shaft for your exact setup.
Cross-Compatibility & Replacement Fit Guide
This PTO shaft is engineered to replace OEM and aftermarket drivelines fitted to mower equipment from John Deere, Eurocardo, Driveline Parts, AgroTech, Collegamento al profilo, Walterscheid, among others. Our technical team can cross-reference your existing part number to ensure a precise match.
⚠ The use of brand names above is for the sole purpose of assisting customers in identifying compatible replacement parts. No affiliation with or endorsement by any listed brand is implied. All trademarks belong to their respective owners.
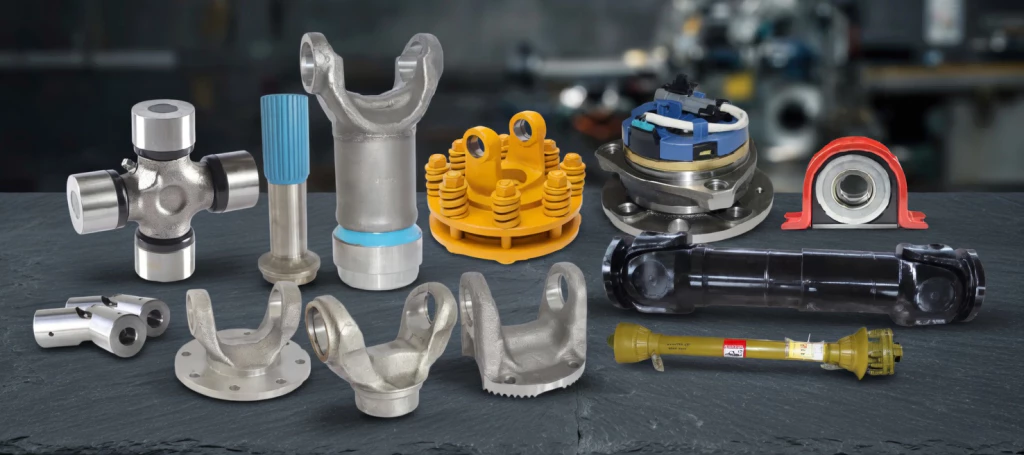
Individual Components & Spares
We supply every PTO shaft component separately—cross kits, yoke assemblies, inner and outer tubes, guard sets, clutch assemblies, shear pins, and mounting hardware—so you can rebuild or reconfigure your shaft as needed without purchasing a full replacement.
Regulatory Compliance & Regional Information
Work Health & Safety (WHS)
In Australia, PTO shaft guarding is mandated under the model Work Health and Safety Regulations. Every PTO shaft we supply for mower use includes a full-length safety guard assembly, meeting the requirements outlined in the Managing the Risks of Plant in the Workplace Code of Practice.
International Standards
Our products are manufactured to ISO 5673-1 and ISO 5673-2 specifications for PTO driveline dimensions and guarding. Universal joints conform to DIN 71752 for cross and bearing cup tolerances.
Import & Customs
PTO shafts and components are classified under Australian Customs Tariff heading 8483 (transmission shafts and cranks; bearing housings; gears and gearing). Duty rates and GST apply at the time of import. We handle all customs documentation for Australian deliveries.

Quick Selection Guide for Mower PTO Shafts
Use the table below to determine the correct PTO shaft specification for your mower. Measure your existing shaft or consult your implement manual before ordering.
| Parametro | Cosa controllare | Typical Range for Mower |
|---|---|---|
| Potenza del trattore | Controllare la targhetta identificativa del trattore o il manuale. | 30–90 HP |
| Velocità presa di forza | Impostazione della presa di forza del trattore e requisiti dell'attrezzo | 540 o 1000 giri al minuto |
| Dimensioni della scanalatura della presa di forza | Contare le scanalature sul perno della presa di forza del trattore | 1-3/8" 6 scanalature o 1-3/4" 6 scanalature |
| Lunghezza dell'albero a vuoto | Misurare la presa di forza del trattore per implementare l'input | 700–1100 mm |
| Coppia richiesta | Consultare il manuale dell'attrezzo o calcolare in base a potenza/velocità | 200–600 Nm |
| Serie consigliate | Corrispondere al requisito di coppia | T2 / L2 (Light-medium duty) / T3 / L3 (Medium duty) / T4 / L4 (Medium-heavy duty) |
| Protezione da sovraccarico | Valutare il rischio di blocco improvviso | Frizione o bullone di sicurezza |
| Implementare il tipo di giogo | Adattare per implementare il profilo dell'albero di ingresso | A sgancio rapido o scanalato |
📌 Non sai quale albero scegliere? Contatta il nostro team tecnico Forniscici il modello del tuo trattore e i dettagli dell'attrezzo per ricevere un consiglio gratuito.
Installation Guide – PTO Shaft on Mower
⚠ Attenzione: Spegnere sempre il motore del trattore, disinnestare la presa di forza e attendere che tutte le parti rotanti si fermino completamente prima di iniziare l'installazione. Seguire le istruzioni di sicurezza del produttore del trattore.
Fase 1: Ispezione preliminare all'installazione
Unpack the PTO shaft and inspect all components for shipping damage. Verify that the yoke splines, U-joints, profile tubes, and safety guards are in perfect condition. Confirm the shaft series and length match your mower requirements.
Passaggio 2: Impostare la lunghezza corretta dell'albero
Park the tractor with the mower in its normal working position. Measure the distance from the tractor PTO stub face to the implement input shaft face. Adjust the telescoping tubes so that the shaft closed length is approximately 10–15 mm shorter than this measured distance to allow for suspension travel.
Fase 3: Collegare il giunto terminale del trattore
Far scorrere il giunto lato trattore sull'albero cardanico della presa di forza. Assicurarsi che le scanalature si innestino completamente e che il meccanismo di bloccaggio (perno a pressione o collare) scatti in posizione. Verificare che non vi sia un gioco radiale eccessivo.
Passaggio 4: Collegare il giogo dell'estremità dell'attrezzo
Align the implement-end yoke with the mower’s input shaft. Slide the yoke onto the splines or into the keyway and secure with the appropriate locking mechanism. If a torque limiter is present, ensure it is correctly oriented per the manufacturer’s markings.
Fase 5: Installare le protezioni di sicurezza
Infilare le due metà della protezione sull'albero e collegarle utilizzando le clip in dotazione. Fissare le catene di sicurezza della protezione: una al timone del trattore o a un punto fisso, l'altra al telaio dell'attrezzo. Le protezioni devono poter ruotare liberamente e non devono mai essere fissate a un componente rotante.
Fase 6: Verifica finale e prova di funzionamento
Verificare che tutti i collegamenti siano ben saldi. Avviare il motore del trattore e innestare la presa di forza al minimo. Osservare l'albero per verificare che ruoti senza intoppi, che non presenti vibrazioni o rumori anomali. Aumentare gradualmente la velocità fino al regime di esercizio. Ricontrollare tutti i dispositivi di fissaggio dopo la prima ora di funzionamento.
PTO Shaft Troubleshooting Guide for Mower
| Sintomo | Possibile causa | Azione consigliata |
|---|---|---|
| La protezione di sicurezza non ruota liberamente | Cuscinetti di protezione bloccati; protezione danneggiata o disallineata | Sostituire i cuscinetti di protezione; raddrizzare o sostituire le metà della protezione; riattaccare correttamente le catene. |
| L'albero della presa di forza si disconnette durante il funzionamento. | Collare di bloccaggio usurato; scanalatura di ritegno danneggiata sul perno della presa di forza | Sostituire il giunto a sgancio rapido; ispezionare e riparare la scanalatura del perno della presa di forza se usurata. |
| Vibrazioni eccessive durante il funzionamento | Cuscinetti trasversali del giunto cardanico usurati; albero non bilanciato; angolo di funzionamento eccessivo | Sostituire il kit di giunzione cardanica; controllare l'allineamento della forcella; ridurre l'angolo di lavoro a <25° |
| Heat build-up at U-joint | Insufficient lubrication; excessive operating angle; bearing failure | Grease U-joints immediately; reduce operating angle; replace cross kit if bearings are damaged |
| Shaft will not telescope smoothly | Corrosion or debris in profile tubes; insufficient lubrication | Clean and grease profile tubes; replace if scoring is visible |
| Rumore di clic o di colpi a bassa velocità | Cuscinetti a rullini del giunto cardanico usurati; forcella allentata sul perno della presa di forza | Sostituire il gruppo giunto cardanico; controllare l'usura delle scanalature e il meccanismo di bloccaggio della forcella. |
| La frizione di sovraccarico slitta sotto carico normale | Dischi della frizione usurati o contaminati; coppia di serraggio errata | Regolare la coppia di serraggio della frizione; sostituire i dischi della frizione se usurati o contaminati dall'olio. |
| Il bullone di sicurezza si rompe ripetutamente | Ostruzione non rimossa; bullone di grado errato utilizzato; albero sottodimensionato | Eliminare la fonte dell'ostruzione; utilizzare solo bulloni del grado specificato; valutare l'aggiornamento alla serie di alberi successiva |
Case Studies – PTO Shaft for Mower in Australia
Appunti dal campo raccolti dal nostro team di ingegneri e venditori in tutta l'Australia:
📍 Warrnambool, VIC – Darren Hughes
Scopo: Outfitted a newly purchased second-hand mower with a reliable aftermarket PTO shaft
Feedback: "Ho ordinato un kit di ricambio per la croce sei mesi dopo ed è arrivato entro 48 ore. Ottimo prodotto, ottimo servizio, ottimo supporto."
📍 Cairns, QLD – Robert Wilson
Scopo: Upgraded overload protection from shear bolt to friction clutch for smoother grass and hay cutting
Feedback: “We run our mower hard across 2,000 hectares and this shaft hasn’t missed a beat after two full seasons. Exceptional value for money.”
📍 Merredin, WA – Barry Sinclair
Scopo: Ho acquistato un albero cardanico completo come ricambio per il periodo di maggiore attività.
Feedback: “Fitted perfectly to my mower with zero modification. The quality is noticeably better than the OEM shaft it replaced. I’ll be ordering more for my other implements.”
📍 Mildura, VIC – Peter Johnson
Scopo: Era necessario un albero di lunghezza personalizzata per una distanza non standard tra trattore e attrezzo.
Feedback: “We swapped out our old economy shaft for this one and noticed an immediate reduction in vibration. The tractor runs quieter and the implement operates smoother.”
📍 Rockhampton, QLD – Andrew Clark
Scopo: Replaced a worn PTO shaft on a 3-year-old mower to restore full operating efficiency
Feedback: “Fast delivery to regional Australia. The shaft arrived well-packaged and the U-joints are smooth as butter. Very impressed with the build quality.”
Frequently Asked Questions – PTO Shaft for Mower
❓ Can I use a 540 rpm shaft on a 1000 rpm PTO?
No. Using a shaft rated for 540 rpm on a 1000 rpm PTO will result in excessive speed, dangerous vibration, and potential catastrophic failure. Always match the shaft speed rating to both the tractor PTO setting and the implement requirement.
❓ Che garanzia offrite sugli alberi cardanici?
Tutti gli alberi cardanici sono coperti da garanzia del produttore contro difetti di materiali e di fabbricazione. I termini di garanzia variano a seconda della serie. Contatta il nostro team per i dettagli specifici della garanzia applicabile al tuo acquisto.
❓ What causes premature U-joint failure?
Common causes include insufficient lubrication, excessive operating angles (over 25°), running at speeds higher than rated, misalignment between tractor and implement, and lack of regular inspection. Following the recommended maintenance schedule significantly extends U-joint life.
❓ Will this shaft fit my tractor and mower?
Our PTO shafts are available with all standard yoke types and spline sizes (1-3/8" 6-spline, 1-3/4" 6-spline, 1-3/4" 20-spline, and more). Provide your tractor model and mower make/model, and our team will confirm compatibility before dispatch.
❓ What PTO shaft series do I need for my mower?
For most mower applications in the 30–90 HP range, we recommend the T2 / L2 (Light-medium duty) or T3 / L3 (Medium duty) series. If you operate near the upper end of this range or in particularly demanding conditions, consider stepping up to the S6 (Standard) series for additional safety margin.
❓ How often should I grease the PTO shaft?
Grease all U-joint nipples every 8–10 hours of operation, or at the start of each working day. Grease the telescoping profile tubes at the same interval. Use EP2 lithium-complex grease or as recommended in your product manual.
❓ Can I upgrade my existing mower PTO shaft to a heavier series?
Nella maggior parte dei casi, sì. Purché le dimensioni delle scanalature del giunto siano compatibili con l'albero della presa di forza del trattore e l'albero di ingresso dell'attrezzo, è possibile passare a una serie più robusta per una maggiore capacità di coppia e durata. Il nostro team tecnico può fornire consulenza sul percorso di aggiornamento più adatto alla vostra attrezzatura.
❓ Can the shaft be shortened to fit my setup?
Yes. The telescoping profile tubes can be cut to a shorter length using an angle grinder or chop saw. Ensure a minimum of 1/3 overlap remains between the inner and outer tubes after cutting. Deburr all cut edges before reassembly.
Prodotti correlati
Complement your Mower PTO shaft with these products from our range:
Let’s Work Together – Mower PTO Shaft Supply
We supply PTO shafts for mower applications to individual farmers, agricultural dealers, service workshops, and OEM manufacturers across Australia and internationally. Bulk pricing, custom specifications, and private-label options are available for qualified partners.
Ready to get started? Reach out to our sales and engineering team for personalised service.